
Webmail is an essential tool for managing emails through a browser, allowing users to send, receive, and organize their messages. One of its valuable features is the ability to create automatic responses, often used to inform people that you’re out of the office, on vacation, or provide other automatic updates. This guide will show you how to create responses in Webmail, streamlining your email management and communication.
Table of Contents
Why Create Responses in Webmail?
Automated responses can save time and improve communication by allowing you to set up auto-replies for situations such as:
- Out-of-office notifications: Let people know you’re away and unable to respond to their email.
- Acknowledgement emails: Confirm receipt of emails.
- Vacation replies: Inform senders of your absence and when they can expect a response.
Creating responses helps ensure that your contacts are informed when you’re unavailable or when a specific situation requires an automatic reply.
Prerequisites
Before you begin, make sure you have:
- Access to your Webmail account.
- Permission to set up responses if you’re using a corporate or managed email account.
Step-by-Step Guide to Creating Responses in Webmail
Step 1: Log into Webmail
The first step is to log in to your Webmail account:
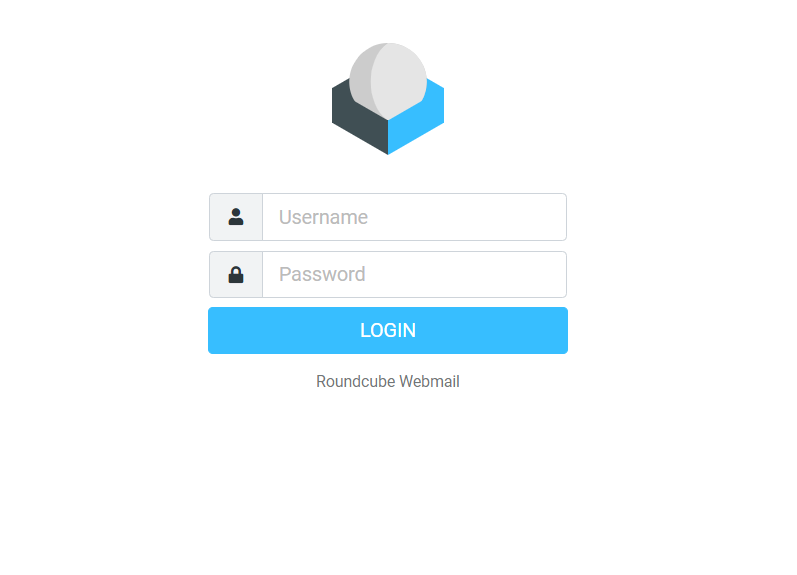
- Open your browser and navigate to your Webmail login page. It might look something like
https://yourdomain.com/webmail. - Enter your email address and password.
- Click Login.
Step 2: Navigate to the Email Settings
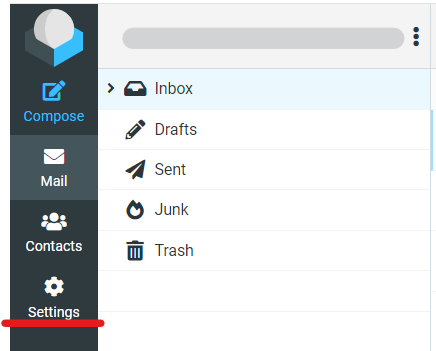
Once you’re logged in, you’ll need to find the email settings where you can configure automated responses:
- Look for the Settings or Preferences option, usually located in the top-right corner or within a menu on the Webmail interface.
- Click on Email Settings or Autoresponders, depending on the Webmail provider you’re using.
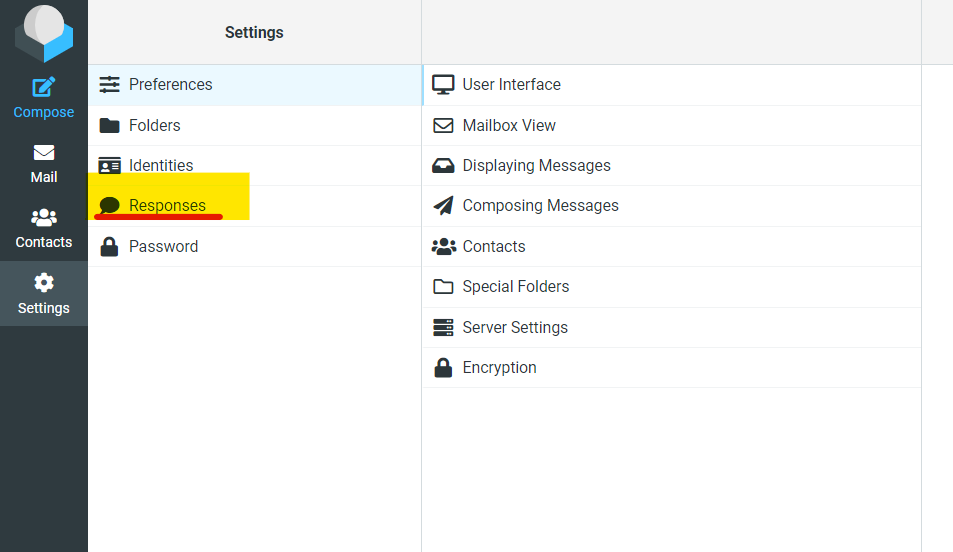
Step 3: Select Autoresponders or Automatic Replies
In the settings section:
- Navigate to the Autoresponders or Automatic Replies option. Different Webmail platforms might have slight variations in naming, but it’s typically labeled as one of these.
- Click on Add New or Create Response.
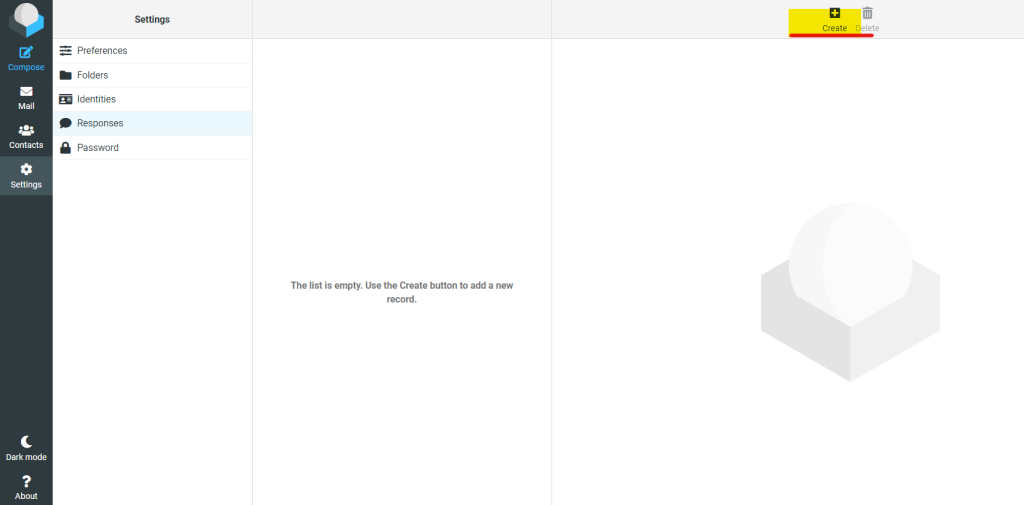
Step 4: Configure the Response
Now it’s time to set up your automatic response:
- Response Name: Enter a name for your response, such as “Out of Office Reply” or “Vacation Response.”
- Subject Line: Create a subject line that recipients will see when they get your automated reply. Examples include “Out of Office” or “Thank You for Your Email.”
- Message Body: Write the content of your response. For instance:
- “Thank you for your message. I am currently out of the office and will return on [Date]. During this time, I will have limited access to email. If your matter is urgent, please contact [Alternate Contact].”
- Enable/Disable: Make sure the response is enabled. You might also have an option to specify the start and end dates for when the response will be active.
Step 5: Save and Activate the Response
After configuring your response:
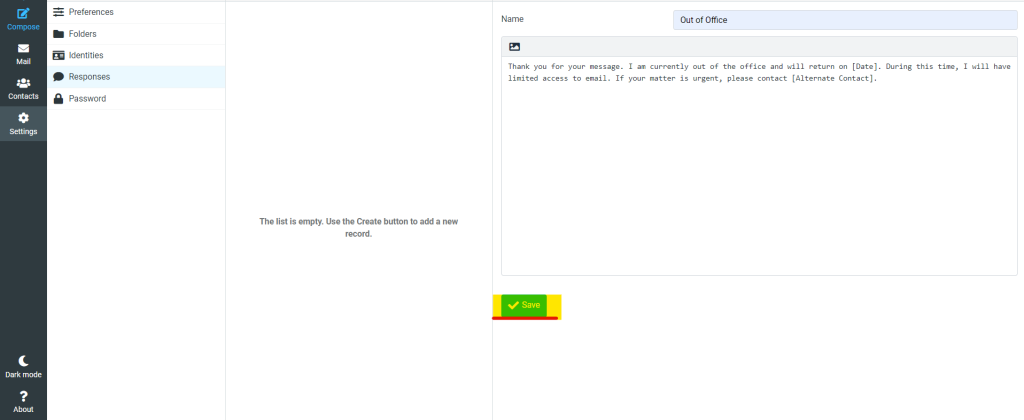
- Review all the details to make sure the message and time settings are correct.
- Click Save or Activate to start using the automatic response.
Step 6: Test the Response
It’s always a good idea to test your automatic reply to ensure it works as expected:
- Send a test email to yourself or have a colleague email you.
- Check that the response is sent and appears correctly formatted.
- If needed, go back into the settings to make any adjustments.
Additional Tips for Effective Automated Responses
- Keep it brief: Ensure your message is short, clear, and to the point.
- Provide alternative contact information: If someone needs immediate assistance, it’s helpful to include an alternate contact person in your message.
- Set proper timing: Make sure your autoresponder is turned on and off at the appropriate times to avoid confusion.
Conclusion
Creating responses is a straightforward process that enhances your email management, especially during times when you’re unavailable. By setting up autoresponders, you can maintain communication, provide important updates, and ensure that people know when to expect a reply. Follow this guide, and you’ll have your automatic responses up and running in no time.
This guide will help you optimize your email interactions and keep your contacts informed, even when you’re away from your inbox!