
Plesk is a versatile and user-friendly control panel that simplifies the management of websites, servers, and accounts. One of the essential tasks for system administrators and web hosting users is adding new user accounts to the Plesk control panel. These user accounts can be given specific roles and permissions, allowing them to manage specific websites, databases, email accounts, or even server settings.
In this blog post, we’ll walk through the process of creating a user account in Plesk and discuss why it’s important for managing your hosting environment efficiently.
Table of Contents
Why Adding User Accounts in Plesk Is Important
Adding user accounts in Plesk is more than just creating access points for other users. Here are a few key reasons why it’s important:
- Delegating Tasks: If you manage multiple websites or clients, you can create accounts for team members, developers, or clients and assign them specific roles. This prevents you from handling every minor task yourself.
- Security: By creating separate accounts for different users, you limit access to only the necessary areas of the control panel. This reduces the risk of accidental or malicious changes to critical server settings or websites.
- Organization: You can easily manage who has access to what by creating distinct user accounts for each function or team member.
- Tracking Activities: With different user accounts, you can monitor changes and track user activities. This makes it easier to troubleshoot issues and maintain accountability.
- Resource Management: You can assign specific resources, such as disk space, bandwidth, or databases, to each user account, ensuring they have the necessary resources without overloading the server.
How to Add a User Account in Plesk Control Panel
Follow these step-by-step instructions to create a user account in Plesk.
Step 1: Log in to Plesk
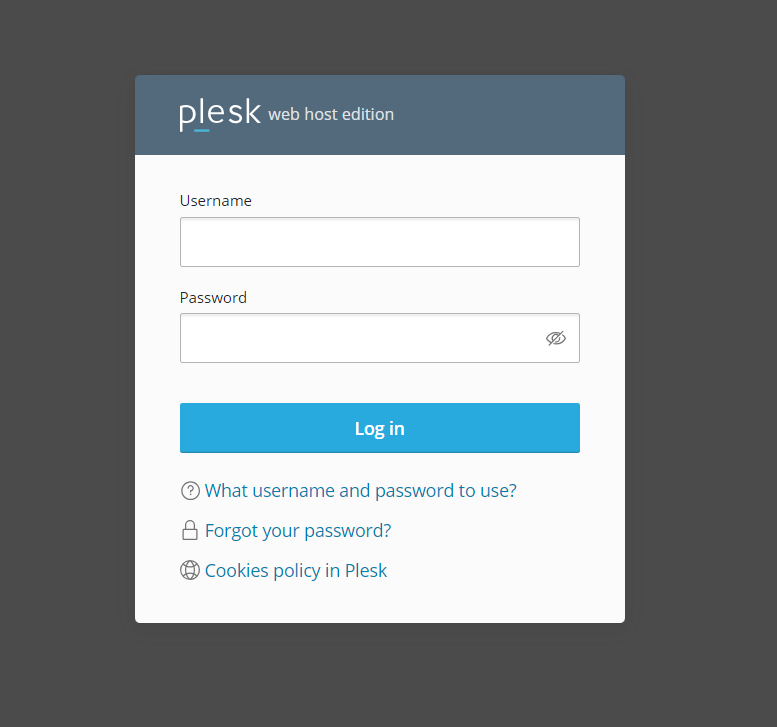
- Open your web browser and go to the Plesk login page. This is typically available at https://yourdomain.com:8443.
- Enter your administrator credentials and click Log In.
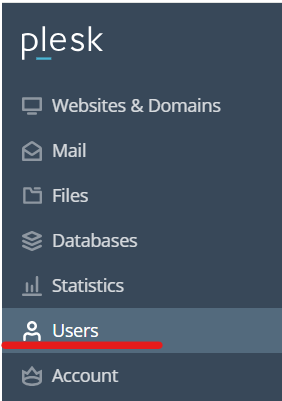
Step 2: Access the User Account Management Section
- Once you are logged into Plesk, navigate to the Users section. This can be found on the left-hand side menu.
- Click on Users to open the user management interface.
Step 3: Add a New User
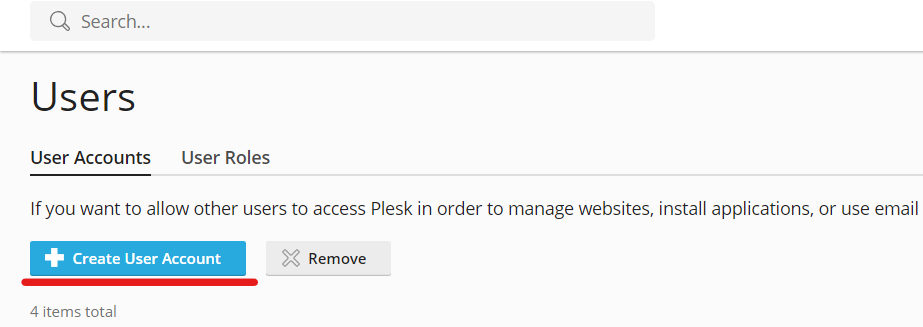
- In the Users section, click the Create User Account button located at the top right of the page.
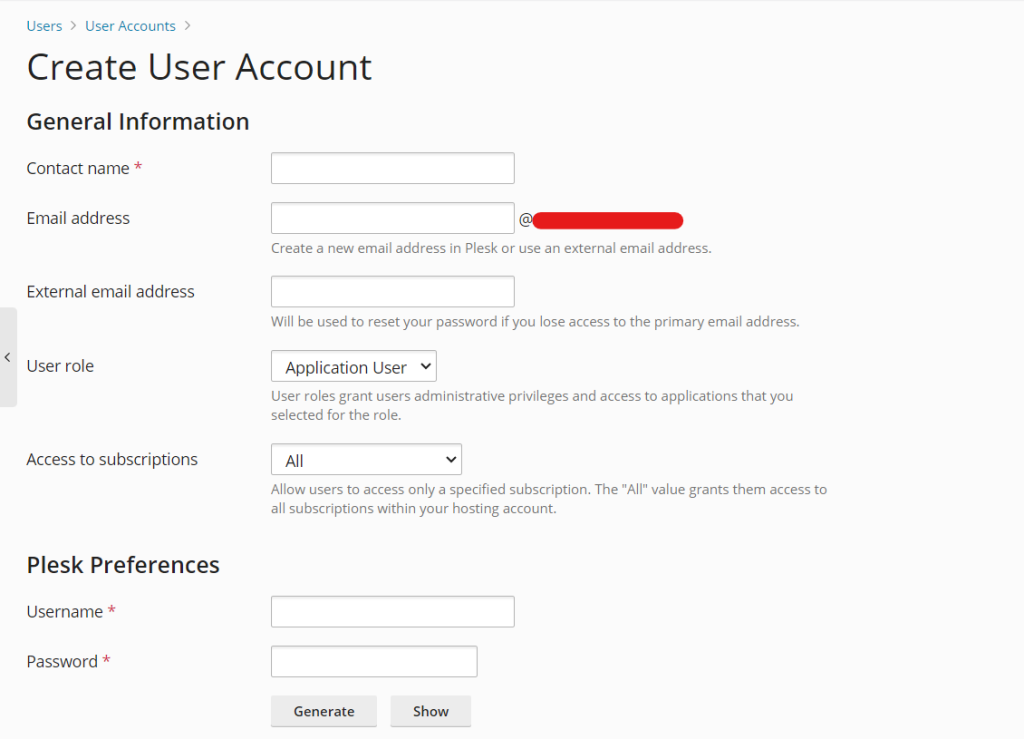
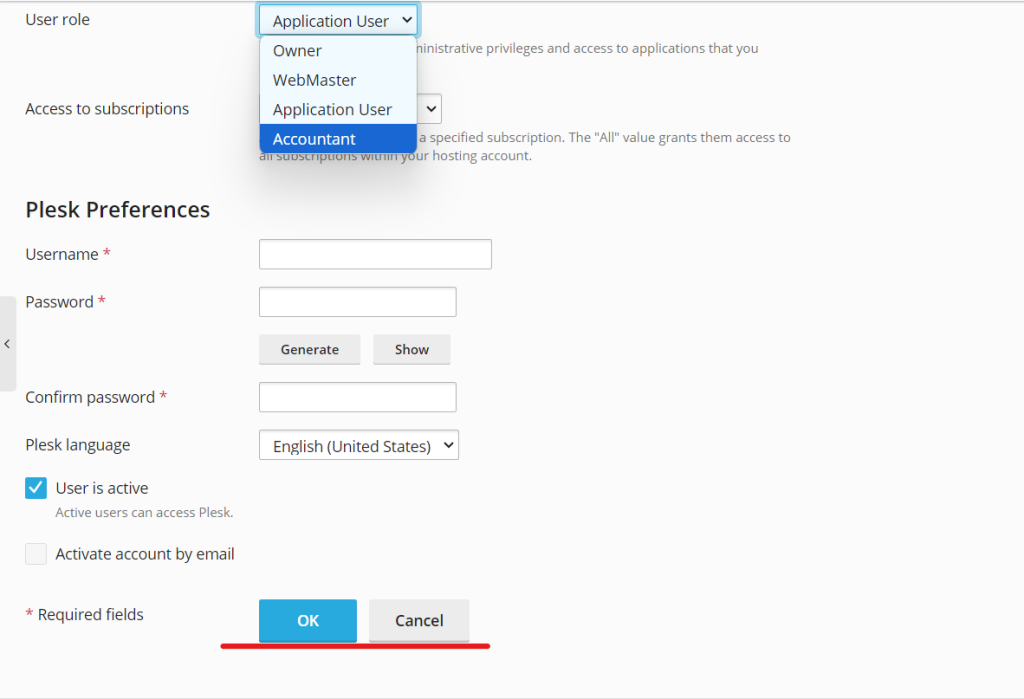
- You will now see the user account creation form where you need to fill in the following details:
- Contact Name: Enter the user’s full name.
- Email Address: Provide the email address of the user.
- Username: This will be the login name for the user. Ensure the username is unique.
- Password: Set a secure password for the user. You can also use the “Generate” button to create a strong password automatically.
- Confirm Password: Re-enter the password to confirm it.
- User Role: Select the appropriate user role from the dropdown menu. This determines the permissions the user will have.
Step 4: Assign Permissions and Roles
Plesk offers different user roles with predefined permissions. Choose a role that suits the user’s requirements:
- Administrator: Full access to the control panel and all features. Ideal for advanced users and developers.
- Reseller: Users can create and manage their own hosting accounts and resources. Best for users who resell hosting services.
- Customer: A limited role with access to specific websites, email accounts, and domains. Great for clients or website owners.
- Web User: This user can only manage the webspace, upload files, and view logs. Suitable for developers or site owners without administrative needs.
You can further customize the permissions for each role by selecting or deselecting individual options such as:
- DNS Settings
- Database Management
- Mail Account Configuration
- File Management
Step 5: Set Resource Limits
Once the user role is set, you can also define specific resource limits for the account. This ensures the user doesn’t exceed the allocated resources. Set limits for:
- Disk space: The maximum amount of disk space the user can use.
- Bandwidth: Control how much data transfer (traffic) the user can consume.
- Number of domains: Set a limit on the number of domains the user can add or manage.
- Number of databases: Define how many databases the user can create.
After configuring the role and limits, click OK to create the user account.
Step 6: Notify the User
Once the account is created, you can notify the user via email. Plesk allows you to automatically send the user’s login details and password to the email address provided during the account creation process.
Managing User Accounts in Plesk
Once user accounts are set up, you can manage them in the Users section. Here’s what you can do:
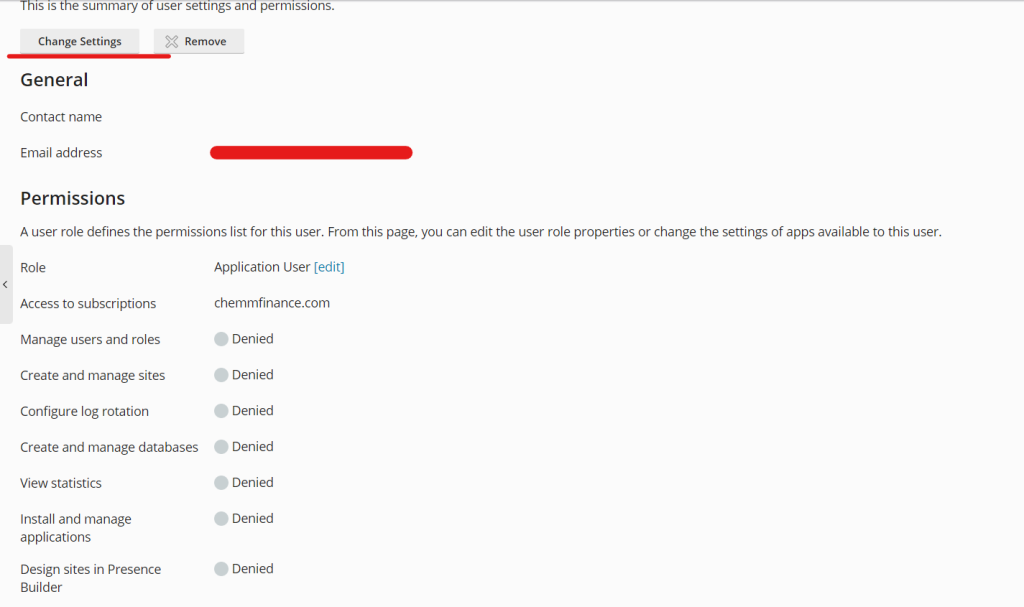
- Edit Account Details: You can update account details such as email addresses, usernames, and passwords at any time.
- Adjust Permissions: Change the role or permissions for each user if their responsibilities change.
- Delete Users: If a user no longer needs access, you can delete their account to maintain security.
Best Practices for Managing User Accounts in Plesk
- Use Strong Passwords: Always encourage users to use strong, complex passwords to prevent unauthorized access.
- Role-Based Access: Assign appropriate roles to users based on their tasks. Avoid giving unnecessary administrative privileges to users who don’t need them.
- Monitor Activities: Regularly check user activities to ensure no unauthorized actions are being taken. This can help detect any unusual or suspicious activity early on.
- Limit Resources: Set resource limits to prevent users from overloading the server, which can lead to performance issues.
- Disable Unused Accounts: If a user no longer requires access, disable or delete their account to reduce security risks.
Conclusion
Adding user accounts in Plesk is essential for efficient hosting management. It allows you to delegate tasks, improve security, and manage resources effectively. By following the steps outlined in this guide, you can create user accounts with the appropriate permissions and resource limits, ensuring a smooth and secure hosting environment.
By setting up multiple users, you’re empowering your team, developers, or clients with the access they need while maintaining control over your server’s resources and security.