Managing WordPress websites efficiently is crucial for web administrators, and WP Toolkit in Plesk simplifies this task. WP Toolkit Extensions offers enhanced features like staging, cloning, and enhanced security. Installing these extensions is a straightforward process in the Plesk panel, enabling you to customize your WordPress management experience. This guide walks you through the steps to install WP Toolkit extensions in Plesk.
Table of Contents
What is WP Toolkit in Plesk?
WP Toolkit is an advanced tool integrated into the Plesk panel to manage WordPress sites effortlessly. It includes functionalities such as:
- Managing plugins and themes.
- Securing WordPress installations with one-click hardening.
- Creating staging environments for testing.
- Cloning and migrating sites seamlessly.
Why Install WP Toolkit Extensions?
It enhance its capabilities, allowing you to:
- Automate WordPress maintenance tasks.
- Improve website performance.
- Implement advanced security measures.
- Simplify website staging and updates.
Whether you manage a single domain or multiple WordPress installations, these extensions can significantly improve efficiency and workflow.
Steps to Install WP Toolkit Extensions in Plesk
1. Log in to the Plesk Panel
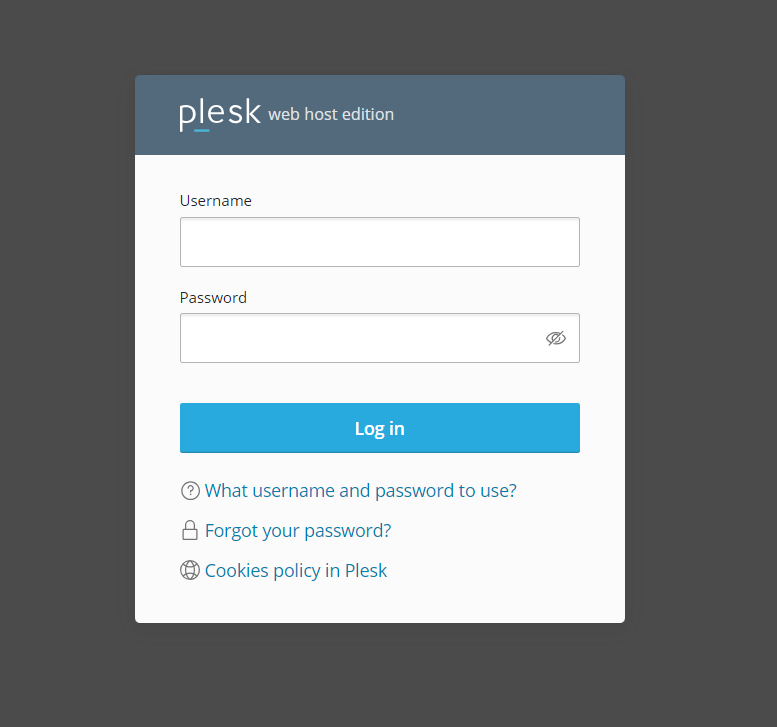
- Access your Plesk control panel using your administrator credentials.
- Navigate to the main dashboard.
2. Access the Extensions Catalog
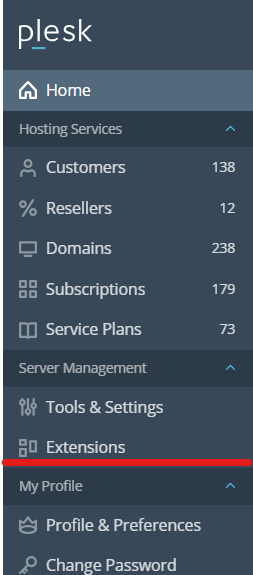
- In the left-hand menu, click on Extensions.
- This opens the Plesk Extension Catalog, where all available extensions are listed.
3. Search for WP Toolkit Extensions
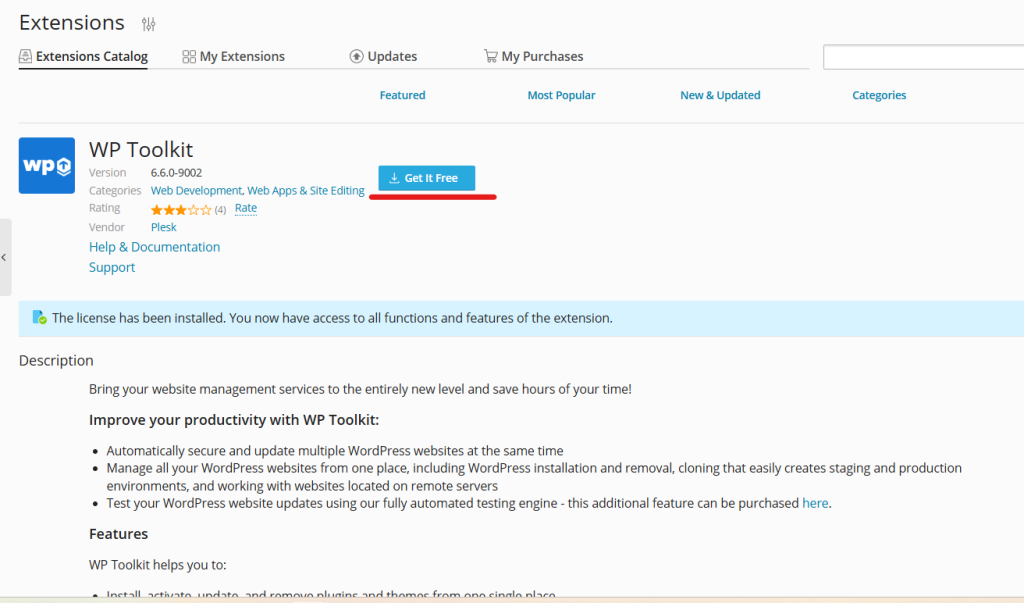
- Use the search bar at the top to type WP Toolkit.
- A list of related extensions will appear, including add-ons for staging, cloning, and enhanced security.
4. Select the Desired Extension
- Click on the specific WP Toolkit extension you wish to install.
- Read the description to ensure it fits your requirements.
5. Install the Extension
- Click the Install button on the extension page.
- Wait for the installation process to complete.
- Once installed, the extension will appear under the Installed Extensions tab.
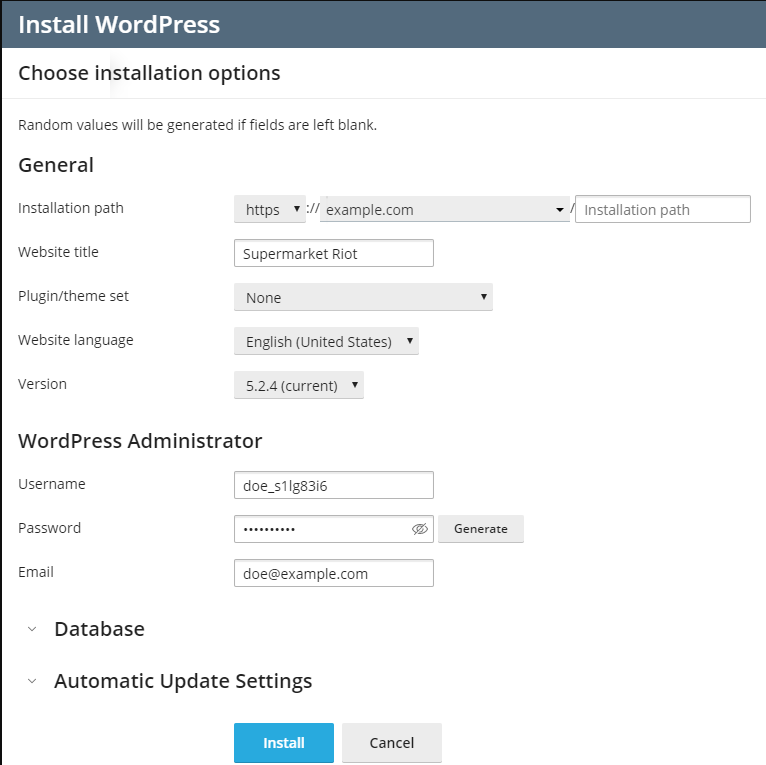
6. Activate and Configure the Extension
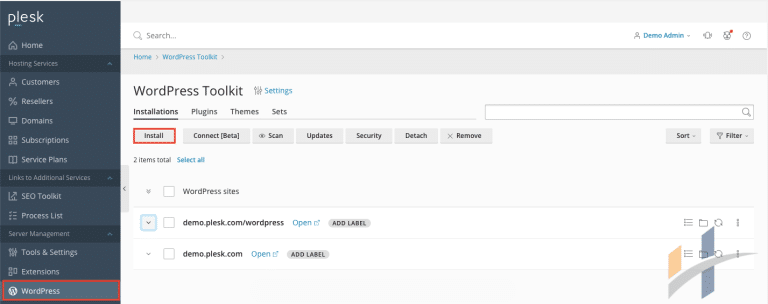
- Navigate to WP Toolkit from the left-hand menu in Plesk.
- Access the installed extension from the toolkit dashboard.
- Configure the extension as per your requirements.
Key Features of WP Toolkit Extensions
Here are some popular extensions and their features:
1. Smart Updates
- Automatically updates WordPress core, plugins, and themes.
- Checks for compatibility before updates.
2. Security Scanner
- Scans WordPress installations for vulnerabilities.
- Implements one-click security hardening.
3. Staging and Cloning Tool
- Creates staging environments for testing changes.
- Clones sites for migration or backup purposes.
Tips for Using WP Toolkit Extensions
- Keep Extensions Updated: Regular updates ensure compatibility and access to new features.
- Use Only Necessary Extensions: Install only the extensions you need to avoid unnecessary resource usage.
- Monitor Performance: Keep track of server performance after installing new extensions.
Troubleshooting Installation Issues
If you encounter issues while installing WP Toolkit extensions, here are some steps to resolve them:
- Check Server Requirements: Ensure your server meets the requirements for the extension.
- Verify Licensing: Some extensions may require a valid license.
- Update Plesk: Ensure your Plesk panel is updated to the latest version.
- Contact Support: If issues persist, contact Plesk support for assistance.
Conclusion
Installing WP Toolkit extensions in Plesk enhances your WordPress management capabilities, making it easier to handle multiple sites and complex tasks. With these extensions, you can automate maintenance, secure your websites, and improve overall efficiency. Follow the steps outlined above to install and configure WP Toolkit extensions and unlock the full potential of your WordPress hosting environment. If you need any clarifications, please contact your hosting service provider.