
Add a plan in the Plesk Admin Panel is a straightforward and efficient way to manage web hosting services. This feature allows administrators to define hosting plans, setting resource allocations, features, and limitations for individual users or customers. By adding a plan, you can ensure efficient server management, streamline operations, and optimize resource utilization, all within the user-friendly interface of the Plesk Admin Panel.
In this blog post, we’ll walk you through the process of add a plan in the Plesk Admin Panel and discuss the benefits of using plans to streamline hosting operations.
Table of Contents
What is a Hosting Plan in Plesk?
A hosting plan in Plesk is a predefined set of resources and features allocated to a user or subscription. These plans help administrators maintain consistency, simplify server management, and ensure users have access only to the features they need.
Why Use Hosting Plans?
- Resource Management: Hosting plans ensure resources are distributed evenly, preventing one user from consuming excessive server resources.
- Customization: Plans allow you to tailor services to specific customer needs.
- Automation: They streamline account creation and minimize manual configuration.
- Scalability: Plans can easily be upgraded or downgraded as user requirements change.
Steps to Add a Plan in Plesk Admin Panel
Follow these simple steps to create a new hosting plan in Plesk.
Step 1: Log in to the Plesk Admin Panel
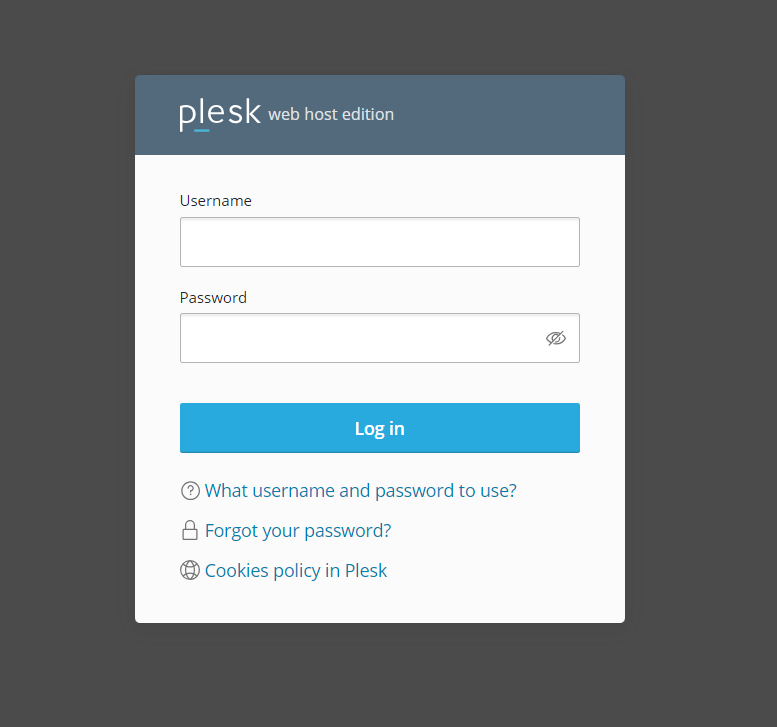
- Open your browser and navigate to your Plesk Admin Panel URL (e.g.,
https://your-server-ip:8443). - Enter your admin username and password, then click Log in.
Step 2: Access the Service Plans Section
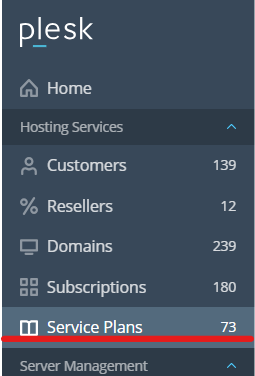
- In the Plesk Dashboard, locate the Service Plans option in the left-hand menu.
- Click on Service Plans to open the management interface.
Step 3: Add a New Plan
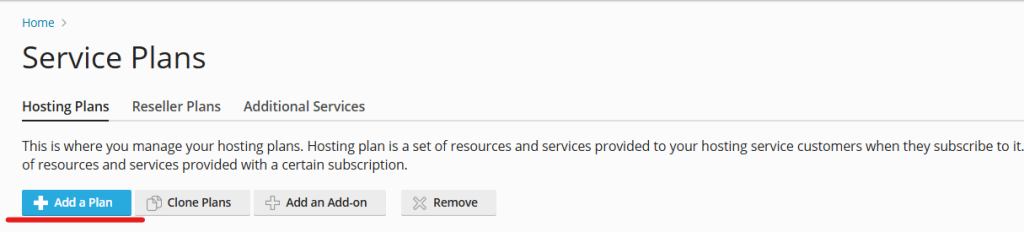
- Click on the Add a Plan button at the top of the Service Plans page.
- This will open a form where you can define the settings for the new plan.
Step 4: Configure the Plan Settings
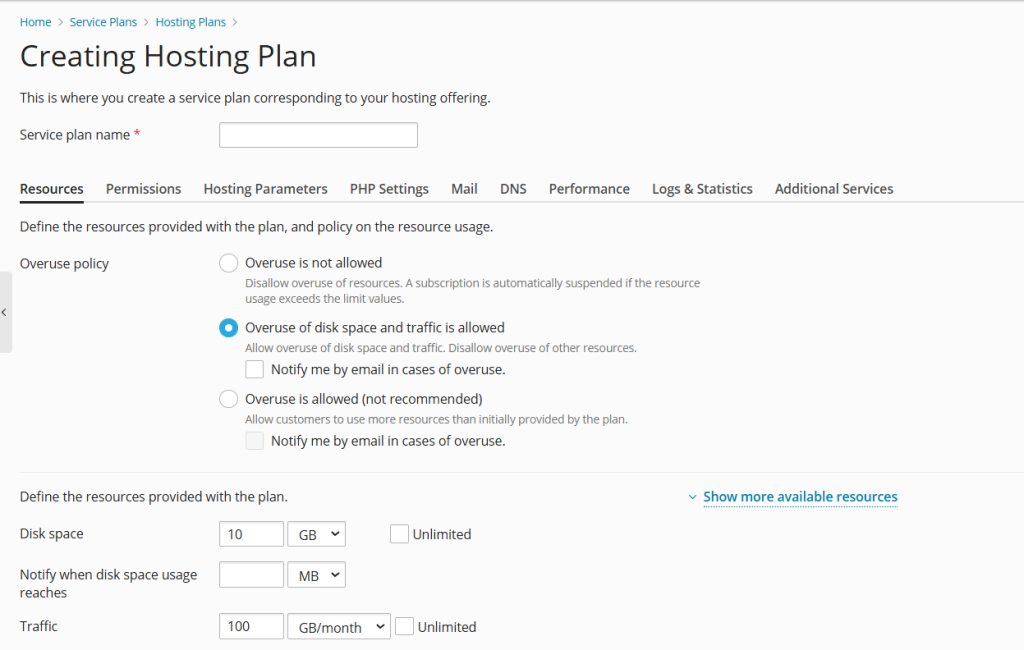
- General Information:
- Plan Name: Enter a descriptive name for the plan (e.g., “Starter Plan” or “Pro Plan”).
- Description: Optionally, add a brief description of what this plan offers.
- Resources:
- Set limits for critical resources such as disk space, bandwidth, email accounts, databases, and domains.
- Define how many subdomains, mailboxes, or databases are allowed.
- Permissions:
- Choose which features and functionalities users can access (e.g., SSH, Git, backup management).
- Hosting Parameters:
- Configure PHP and other scripting language support.
- Set the preferred web server type (Apache, Nginx, or both).
- Mail Settings:
- Define email-related settings such as mailbox size limits and spam protection.
- DNS Settings:
- Decide whether to allow DNS management for the users of this plan.
- Backup and Security:
- Configure backup frequency and enable security features like SSL or DDoS protection.
Step 5: Save the Plan
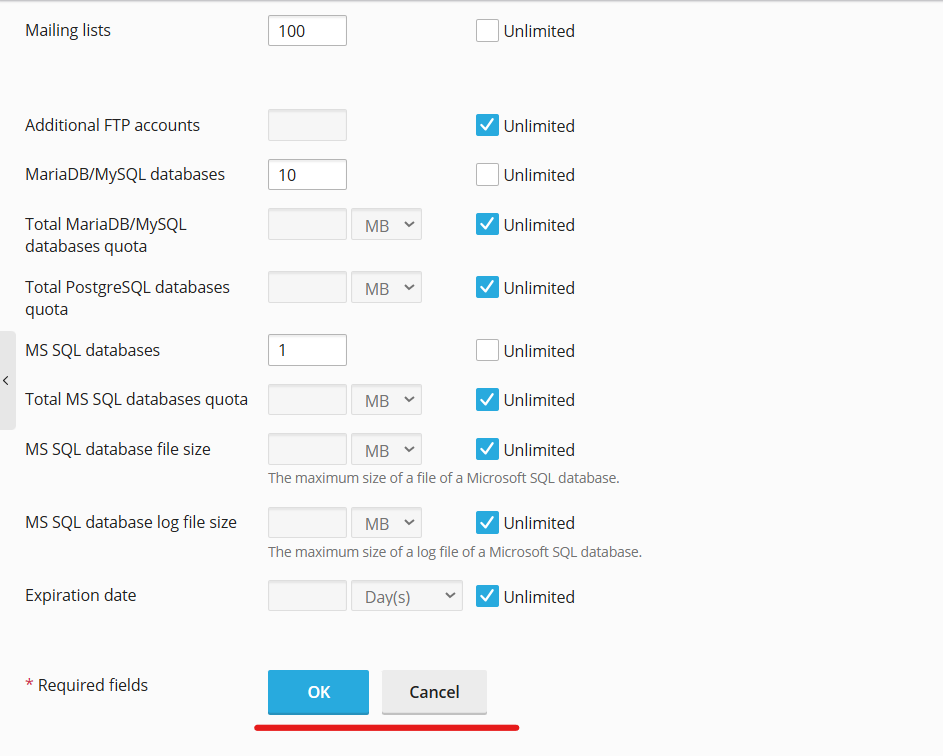
- Review all the settings carefully to ensure accuracy.
- Click OK or Save to finalize and add the new hosting plan.
Step 6: Assign the Plan to a User or Subscription
- Navigate to the Subscriptions section in the Plesk Admin Panel.
- Select the user or subscription you want to assign the plan to.
- Choose the newly created plan from the dropdown menu and apply it.
Tips for Managing Hosting Plans
- Standardize Plans: Avoid creating too many variations to keep server management simple.
- Monitor Resource Usage: Regularly review resource usage to ensure plans are optimized.
- Update Plans as Needed: Adjust features or resources as your users’ needs evolve.
- Test Before Deployment: Always test new plans on a dummy account to ensure they function correctly.
Benefits of Adding Plans in Plesk
- Consistency: Uniform plans simplify server management and troubleshooting.
- Scalability: Easily upgrade or downgrade plans as needed.
- Customer Satisfaction: Tailored plans help meet specific user requirements.
Conclusion
Adding a hosting plan in the Plesk Admin Panel is a straightforward process that can significantly enhance your hosting operations. By defining clear resource allocations and permissions, you ensure efficient server usage while providing customers with the tools they need to manage their websites effectively. Follow the steps above to create and manage hosting plans effortlessly in Plesk.
For further assistance, feel free to consult the Plesk documentation or reach out to your hosting provider.