
Plesk is a comprehensive web hosting platform that offers robust tools for managing websites, domains, and server resources. One essential feature for administrators is the ability to restrict the usage of specific domain names that means Prohibited Domain Names. This is especially useful for preventing misuse, conflicts, or the accidental hosting of prohibited domains. In this guide, we’ll walk you through the process of adding prohibited domain names in the Plesk admin panel.
Table of Contents
What Are Prohibited Domain Names?
Prohibited domain names are domain names that are restricted from being added or hosted on the server. This feature is typically used to:
- Prevent Conflicts: Avoid hosting duplicate domains.
- Enhance Security: Block malicious or blacklisted domains.
- Maintain Policies: Comply with internal or organizational guidelines.
By restricting certain domain names, administrators can maintain control over the server environment.
Steps to Add Prohibited Domain Names in Plesk
Follow these steps to configure prohibited domain names in Plesk Admin Panel:
Step 1: Log in to Plesk
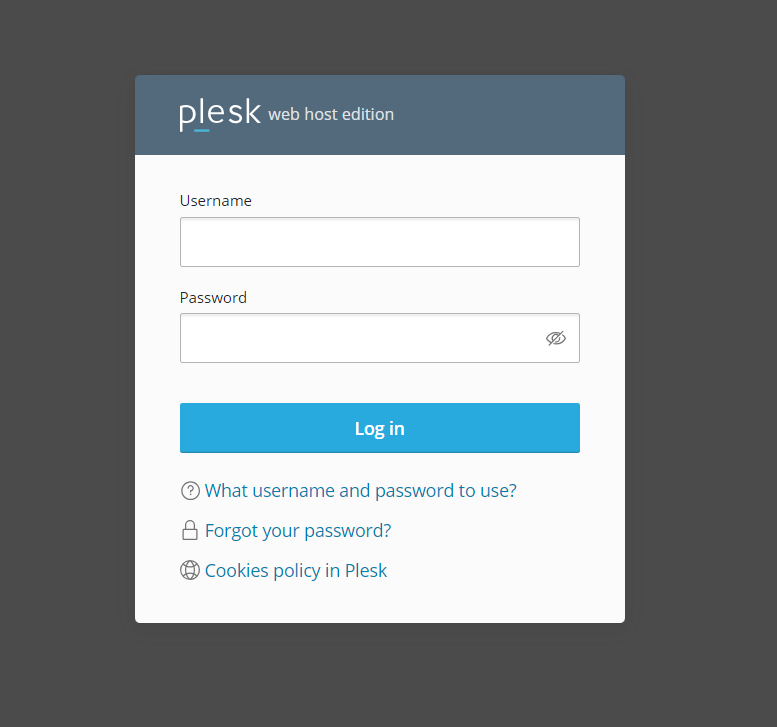
- Open your web browser and navigate to your Plesk admin panel login page.
- Enter your admin credentials to log in.
Step 2: Navigate to the Server Settings
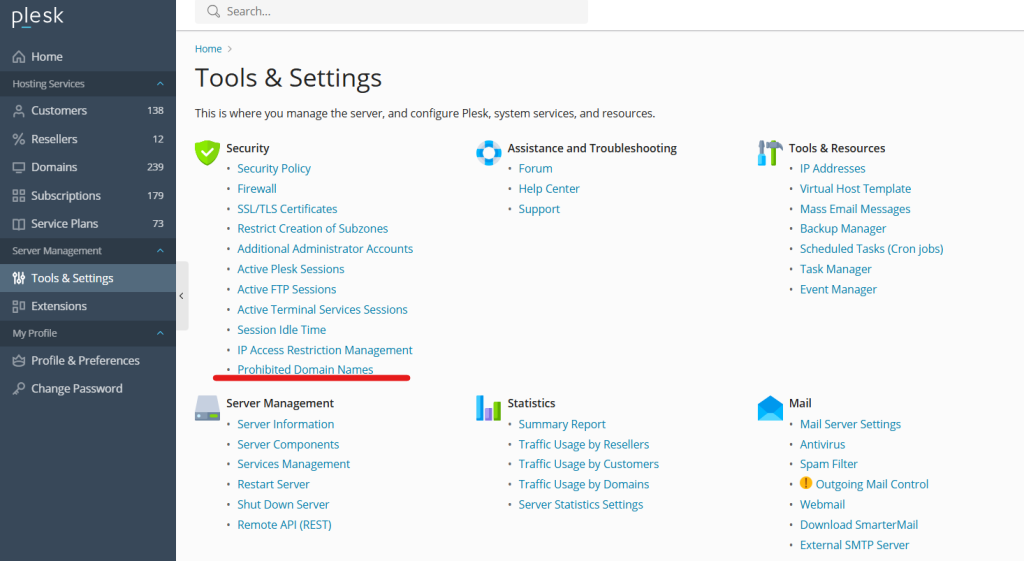
- From the Plesk dashboard, locate and click on Tools & Settings in the sidebar.
- Under the General Settings section, select Prohibited Domain names or a similar option (depending on your Plesk version).
Step 3: Add Prohibited Domain Names

- In the Prohibited Domain names section, you’ll see a field to add domain names.
- Enter the domain names you want to restrict. Make sure to enter one domain per line for clarity.
Step 4: Save Your Changes
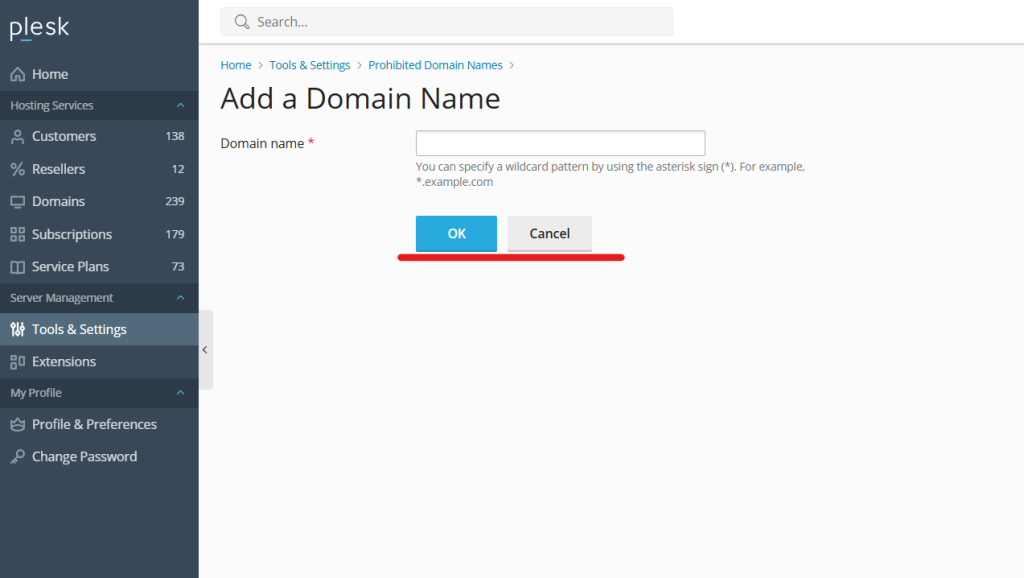
- After adding the domains, click Apply or OK to save the changes.
- Plesk will now prevent these domains from being added or hosted on the server.
Step 5: Test the Restrictions
- Attempt to add one of the prohibited domains to verify the restriction is working.
- You should receive a notification indicating the domain is not allowed.
Managing Prohibited Domain Name
Plesk also allows you to manage the list of prohibited domain names efficiently:
- Edit the List: You can update the list at any time by adding or removing domain names.
- Backup the List: Ensure you keep a copy of your prohibited domain list for record-keeping or migration purposes.
- Monitor Activities: Regularly check for attempts to add restricted domains to identify potential security threats.
Benefits of Adding Prohibited Domain Name
- Enhanced Security: Prevents hosting of blacklisted or malicious domains.
- Policy Compliance: Ensures the server aligns with organizational guidelines.
- Conflict Avoidance: Stops duplicate or overlapping domain configurations.
- Efficient Management: Simplifies domain management by reducing the risk of errors.
Conclusion
Adding prohibited domain name in Plesk Admin Panel is a straightforward yet powerful feature that helps administrators maintain control over their hosting environment. By restricting certain domains, you can ensure security, comply with policies, and manage your server resources effectively.
If you haven’t explored this feature yet, log in to your Plesk admin panel and take advantage of it today! For more tips and guides on Plesk, stay tuned.