Change the language in Plesk Control Panel is simple and convenient, allowing users worldwide to work in their preferred language. Whether it’s English, Spanish, French, or another option, Plesk supports a wide range of languages to enhance accessibility and user experience. In this blog post, we will guide you step-by-step on how to change the language in Plesk Control Panel.
Table of Contents
Why Change the Language in Plesk?
Changing the language in Plesk can:
- Make it easier for non-English speakers to navigate and manage their hosting environment.
- Improve productivity by providing instructions and settings in a familiar language.
- Enhance the user experience for global teams managing a shared server.
Steps to Change the Language in Plesk
Follow these steps to switch the language in Plesk Control Panel:
1. Log in to the Plesk Control Panel
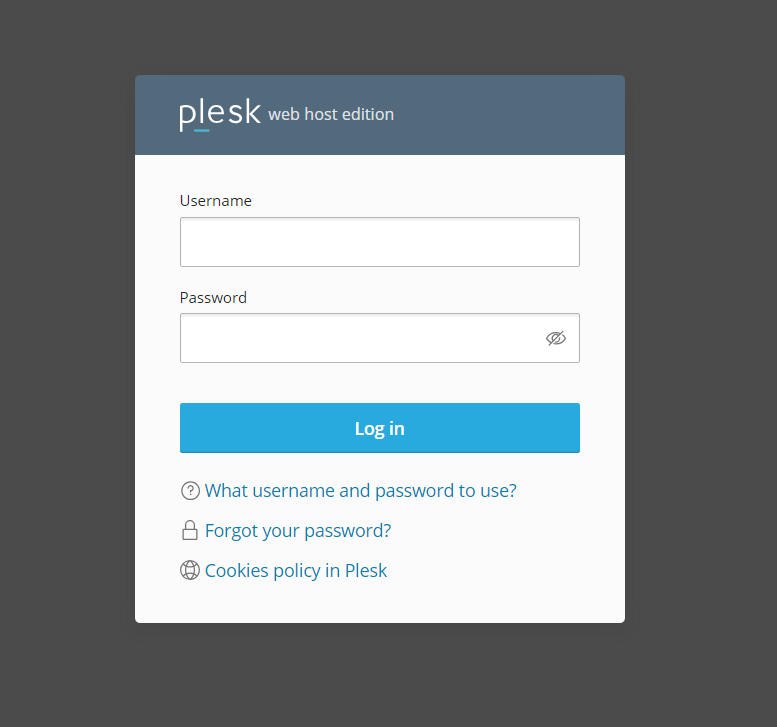
- Open your browser and navigate to your Plesk login page.
- Enter your username and password to access the dashboard.
2. Go to User Preferences
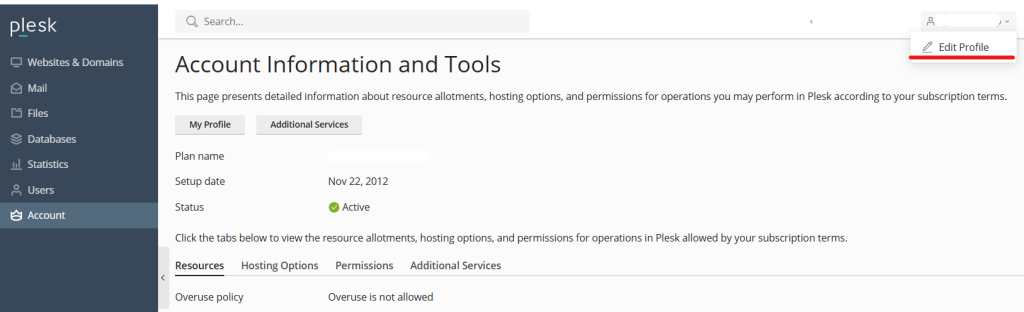
- Once logged in, locate the Profile Icon or User Preferences menu.
- This is typically found in the top-right corner of the interface.
3. Select Language Settings
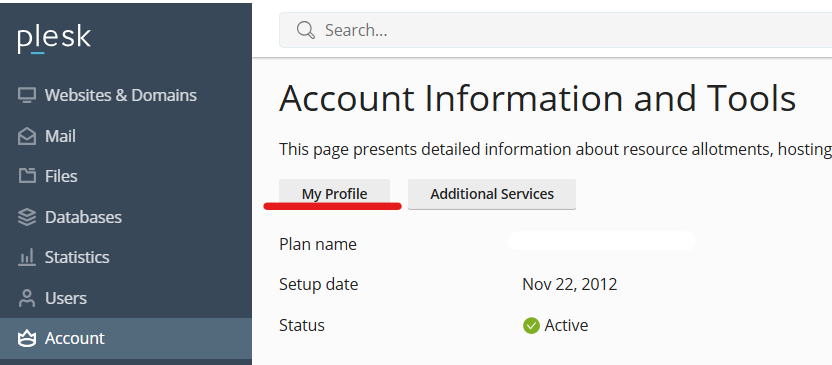
- Click on My Profile or a similar option depending on your current language.
- Look for the Language section, which allows you to choose your preferred language.
4. Choose a Preferred Language
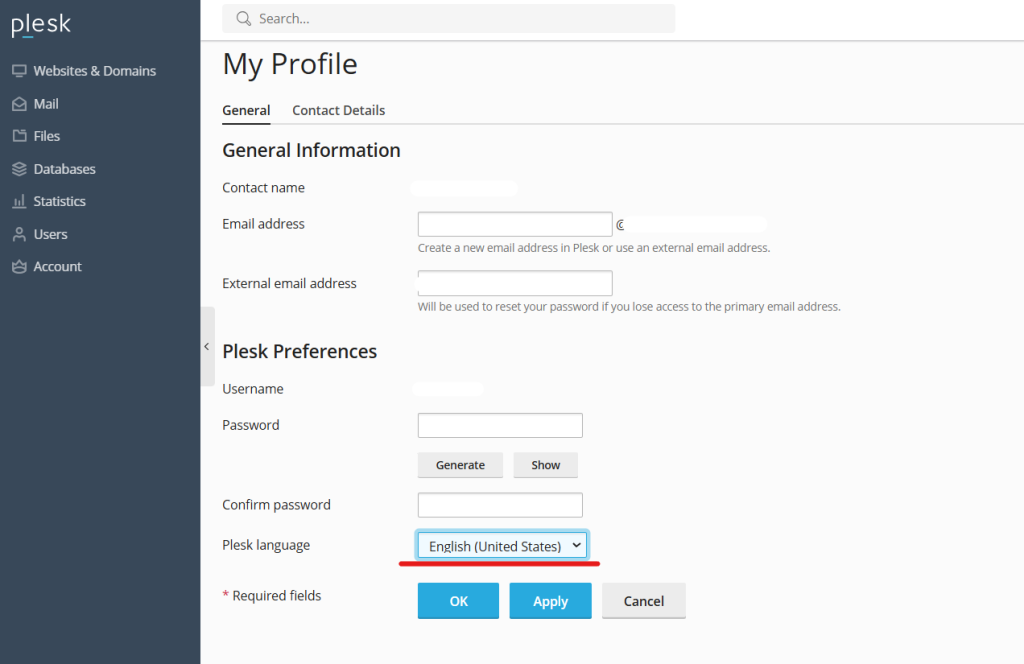
- From the dropdown menu, select the language you wish to use.
- Plesk supports many languages, such as English, German, Spanish, French, and more.
5. Save the Changes
- Click on the Save or Apply button to confirm your choice.
- The interface will refresh and display in the selected language.
Additional Notes
- System-Wide vs. User-Specific Changes:
- If you’re an admin and want to set a default language for all users, you can do so through the Plesk administrator settings.
- If you’re a regular user, your changes will only affect your account.
- Language Pack Installation:
- In some cases, additional language packs may need to be installed. If the desired language isn’t available, contact your hosting provider or refer to the Plesk documentation for assistance.
- Fallback Language:
- If there are issues with a specific language pack, Plesk will default to English.
Reverting to Default Language
If you wish to revert to the original language:
- Repeat the steps above to access the Language Settings.
- Select the original language (e.g., English) from the dropdown menu.
- Save the changes to restore the previous interface.
Benefits of Multi-Language Support in Plesk
- Accessibility for Global Users: Ensures that users from different regions can effectively manage their hosting.
- Improved Communication: Reduces the risk of errors caused by language misunderstandings.
- Flexibility: Allows server administrators to cater to diverse user needs.
Conclusion
Changing the language in Plesk Control Panel is a simple yet impactful feature that enhances usability for global users. Whether you’re managing a single server or collaborating with an international team, the ability to switch languages ensures a seamless hosting experience.
If you encounter any issues or need further assistance, don’t hesitate to consult Plesk’s official documentation or reach out to your hosting provider.