
Hosting plans in the Plesk Control Panel allow administrators to allocate resources and features to hosting accounts. When the need arises to change the plan for an account—whether upgrading to a higher tier or adjusting features—Plesk makes the process seamless. This guide will walk you through the steps to modify a hosting plan in the Plesk panel, ensuring your clients have the resources and functionalities they need.
Table of Contents
What Are Hosting Plans in Plesk?
Hosting plans in Plesk define the resources, features, and services allocated to a specific account. These plans include:
- Disk space and bandwidth limits
- Email account limits
- Database restrictions
- Specific add-on features like SSL, backups, or advanced security tools
Changing a hosting plan allows administrators to meet the evolving needs of users without manually configuring individual settings.
Why Change a Plan?
Here are some common reasons to change the hosting plan for an account:
- Upgrade to More Resources: When a customer’s website grows, they may require additional resources like disk space, bandwidth, or databases.
- Feature Access: Clients might request specific features not included in their current plan, such as advanced security tools or a backup service.
- Downgrade: Occasionally, clients may need to downgrade their plan to save costs.
- Plan Consolidation: Streamlining services or features into predefined plans to improve management.
Steps to Change the Plan for an Account in Plesk Panel
Step 1: Log in to the Plesk Panel
- Open your web browser and access your Plesk panel.
- Log in using your administrator credentials.
Step 2: Navigate to Subscription Management
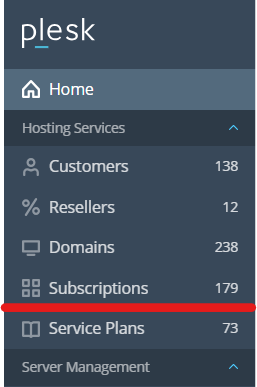
- In the Plesk dashboard, go to Subscriptions in the left-hand menu.
- Locate the subscription or account you wish to modify.
- Click on the subscription name to view its details.
Step 3: Change the Hosting Plan

- In the subscription details, find the option labeled Change Plan or Switch Plan (depending on your Plesk version).
- From the dropdown menu, select the new hosting plan you want to assign to this account.
- Ensure the plan includes all necessary features and resources required by the client.
Step 4: Confirm the Changes
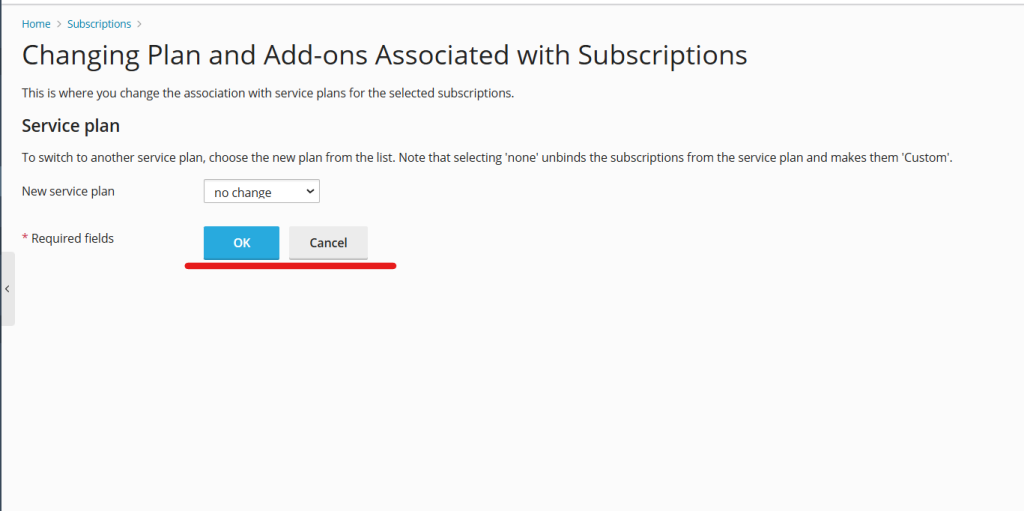
- After selecting the new plan, click OK or Apply to save the changes.
- Plesk may take a few moments to process the update.
Step 5: Verify the Update
- Return to the Subscriptions tab and check the updated details for the account.
- Confirm that the new plan’s features and limits are reflected correctly.
Important Considerations
Resource Limitations
When changing plans, ensure the new plan has adequate resources to meet the client’s requirements. Downgrading to a plan with fewer resources could cause service disruptions.
Email Notifications
Plesk automatically sends email notifications to clients when changes are made to their subscription.
Customizations
If an account has custom settings applied, these may override certain plan features. You might need to reset these customizations for the new plan to take full effect.
Benefits of Changing Hosting Plans in Plesk
- Efficiency: Administrators can easily allocate appropriate resources and features based on the client’s needs.
- Flexibility: Plans can be upgraded or downgraded without migrating the account to a new server.
- Scalability: Ensures clients have room to grow their online presence.
- Customer Satisfaction: Offers clients a tailored hosting experience, improving retention and loyalty.
Common Issues When Changing Plans
- Plan Mismatch: Attempting to assign an incompatible plan can cause errors. Always ensure the plan aligns with the server’s configuration.
- Pending Changes: Some changes may not take effect immediately due to pending tasks in Plesk. Check the task queue for any processing delays.
- Data Overuse: If a client’s current usage exceeds the limits of the new plan, they may experience service restrictions after the change.
Conclusion
Changing the hosting plan for an account in Plesk is a straightforward process that provides flexibility for both administrators and clients. By following the steps outlined in this guide, you can ensure a seamless transition to a new plan that meets your customer’s needs. With Plesk’s user-friendly interface and robust features, managing hosting accounts has never been easier.
Whether you are upgrading resources or optimizing costs, adjusting hosting plans in Plesk ensures you deliver a personalized and efficient hosting experience.