Cron jobs are scheduled tasks that run automatically at specified intervals. In the Plesk control panel, creating cron jobs is a simple process that allows you to automate various tasks such as running scripts, backups, and sending reports. Here’s a step-by-step guide to creating cron jobs in Plesk:
Table of Contents
Step 1: Log in to Plesk
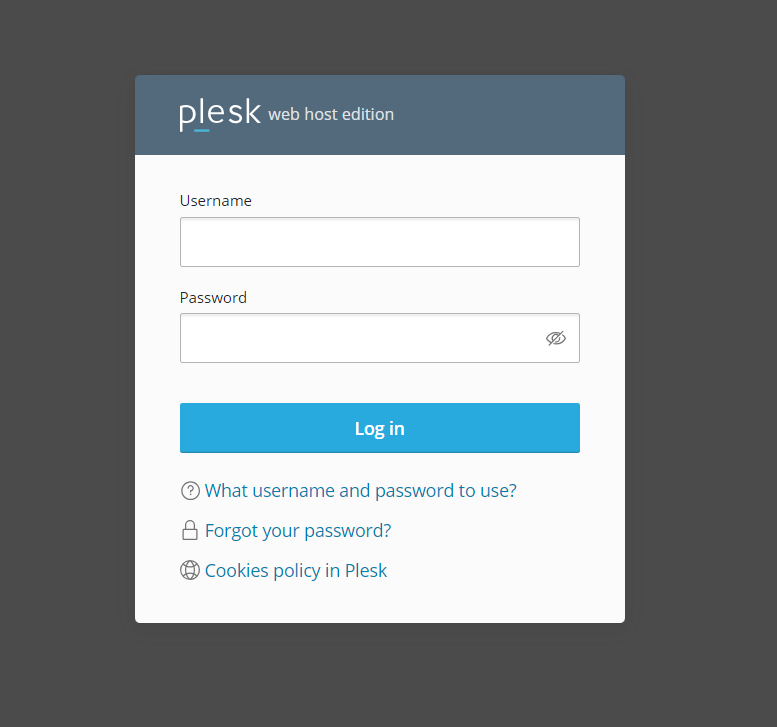
First, you need to access your Plesk control panel. Open your browser and navigate to your Plesk login URL (usually something like https://your-domain.com:8443). Enter your username and password to log in.
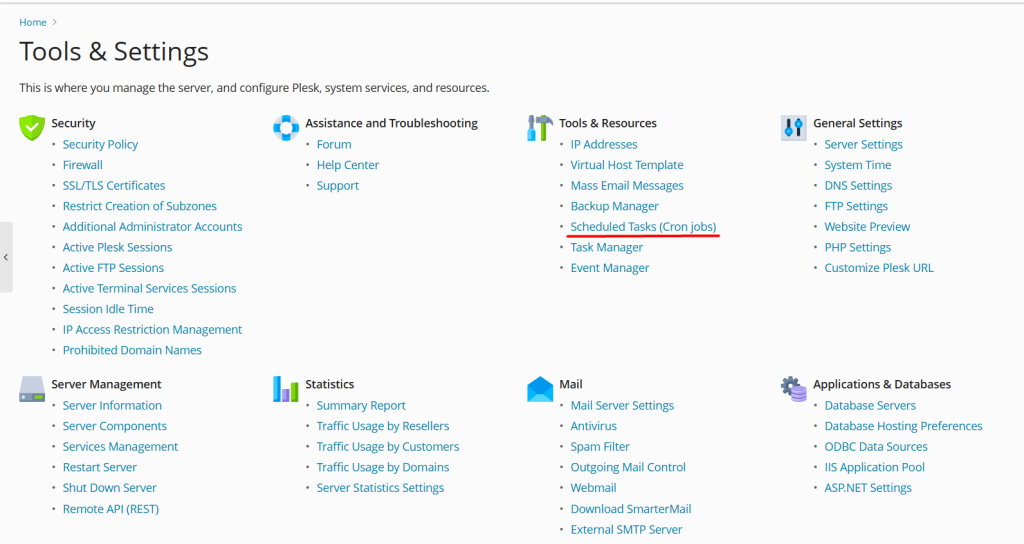
Step 2: Navigate to the “Scheduled Tasks” Section
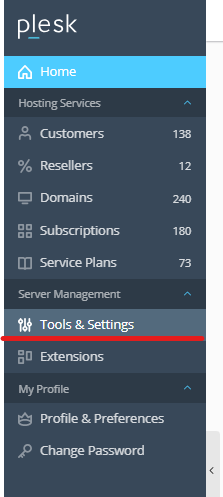
- After logging in, you will be on the Plesk dashboard. In the left-hand sidebar, look for the “Tools & Settings” option.
- Under “Tools & Settings”, click on “Scheduled Tasks”. This is where you will manage and create cron jobs.
Step 3: Add a New Cron Job
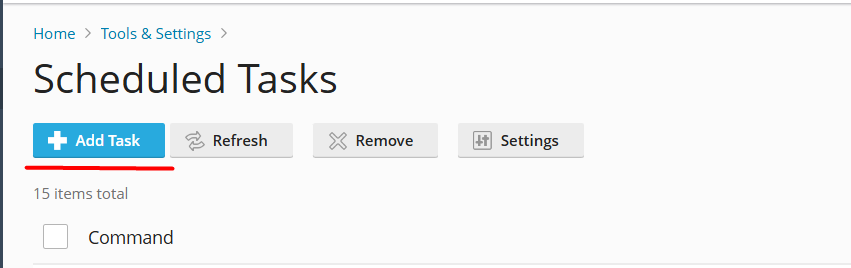
To create a new cron job:
- In the Scheduled Tasks section, click on the “Add Task” button.
- A form will appear with several fields that you need to fill out.
Step 4: Set Up the Cron Job
There are multiple settings to configure when creating a cron job. Here’s a breakdown of each:
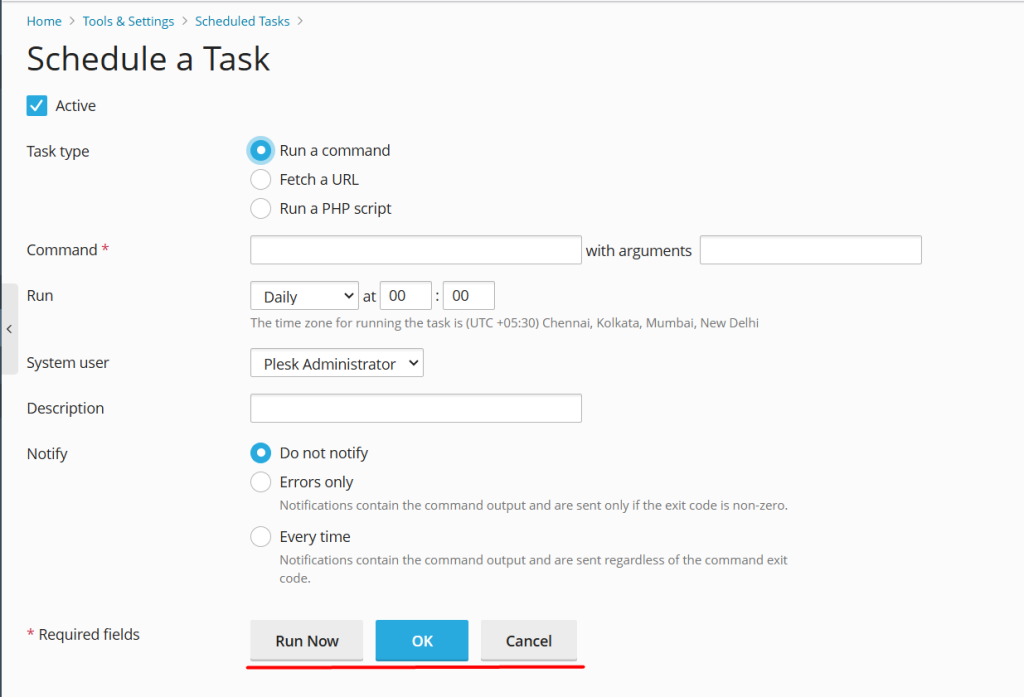
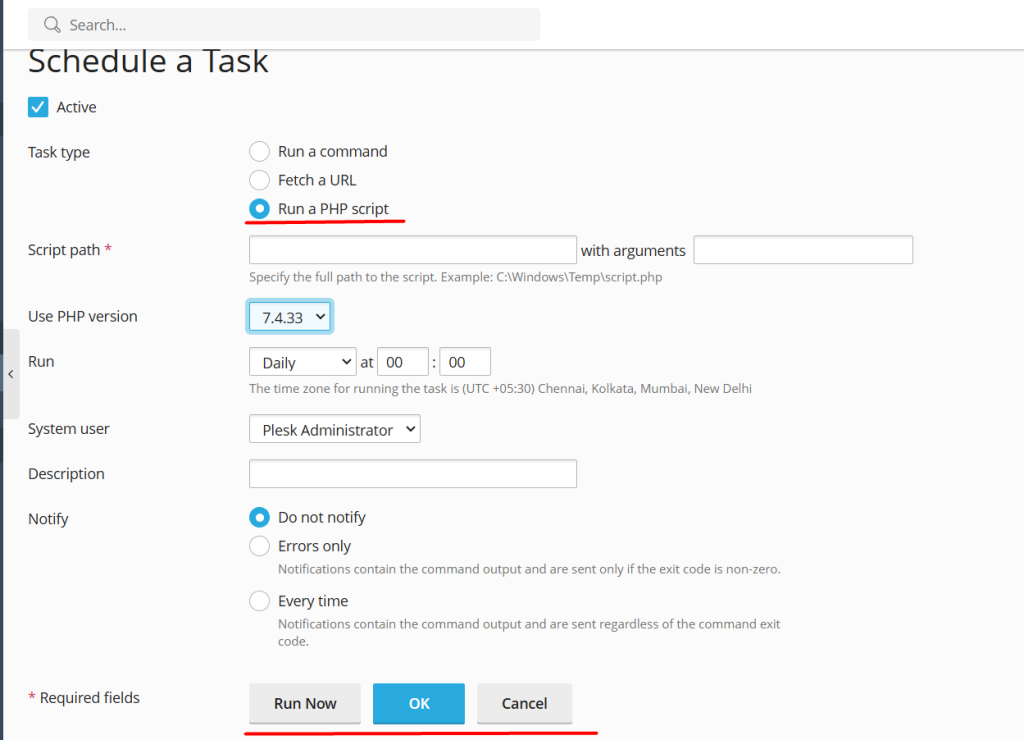
1. Task Type
- From the Task Type dropdown, choose the task you want to run. You can either run a script or a command.
- If you select Run a command, you can specify the full path of the command or script you want to run.
- If you select Run a PHP script, you can enter the full path to the PHP file you want to execute.
2. Run as
- Choose which user the cron job should run as. Generally, it will be set to your account by default, but you can change this if needed.
3. Schedule
- Plesk provides an easy-to-use interface to specify when the cron job should run. You can set the time using the following options:
- Minute: Choose the minute(s) when the job will run.
- Hour: Choose the hour(s) for execution.
- Day of month: Select the specific day(s) of the month for the task.
- Month: Select the month(s) for execution.
- Day of week: Set the day(s) of the week.
- Alternatively, you can use the “Every” and “At” options for a more straightforward schedule, like “every 10 minutes” or “at midnight.”
For example, if you want your cron job to run every day at 3:00 AM, you would set:
- Minute:
0 - Hour:
3 - Day of month:
* - Month:
* - Day of week:
*
4. Command or Script
- If you selected Run a command, enter the full path of the command or script you want to run. For example, if you want to run a PHP script, you might input something like
/usr/bin/php /var/www/vhosts/your-domain.com/httpdocs/your-script.php - If you chose Run a PHP script, enter the path to your PHP file, for example
/var/www/vhosts/unlimitedhosting.in/httpdocs/your-script.php
5. Output and Error Log
- Optionally, you can configure where the output and errors from the cron job should be logged. You can specify a file path to store any output or errors generated by the job. This can be helpful for debugging.
- Standard output log: Enter a file path where standard output will be written (e.g.,
/var/www/vhosts/your-domain.com/logs/cron_output.log). - Error log: Similarly, specify a file for error logs.
- Standard output log: Enter a file path where standard output will be written (e.g.,
6. Notifications
- You can enable or disable email notifications for the cron job. If you enable this, Plesk will send you an email every time the job is run, with information about the task’s execution and whether it was successful.
Step 5: Save the Cron Job
Once you’ve filled out all the necessary details for the cron job, click “OK” or “Save” to create the cron job.
Step 6: Verify the Cron Job
You will now see the new cron job listed under Scheduled Tasks. To verify that the cron job has been successfully added, you can:
- Review the cron job’s settings.
- Check any output logs you’ve set up.
- Wait for the scheduled time and ensure that the task is executed as expected.
Troubleshooting Tips
- Permission Issues: If your script fails to execute, make sure that the script has the appropriate file permissions. Use
chmodto ensure it’s executable. - Check Logs: If you configured error logs, check the log files for any issues that may have occurred during execution.
- Cron Syntax: Make sure your cron syntax is correct. Mistakes in setting up the schedule can result in the task not running.
Conclusion
Creating cron jobs in Plesk is a straightforward process that allows you to automate various tasks like backups, maintenance scripts, and more. By setting up a cron job, you can ensure that your server runs tasks on a regular schedule without manual intervention, saving you time and effort. Whether you’re a developer, system admin, or website owner, cron jobs are a powerful tool for streamlining your server management.