Spam emails can be a significant challenge for server administrators and end-users. To ensure a cleaner, safer email experience, Plesk offers a robust spam filtering feature that can be enabled server wide. This guide will walk you through the steps to configure server-wide spam filtering in the Plesk Admin Panel.
Table of Contents
What is Server-Wide Spam Filtering?
Server-wide spam filtering is a feature that applies anti-spam rules and filters to all email accounts hosted on your server. It helps to identify and block spam emails before they reach users’ inboxes, improving server performance and enhancing email security.
Steps to Enable Server-Wide Spam Filtering in Plesk
Follow these steps to enable spam filtering across your Plesk-managed server:
Step 1: Log in to Plesk Admin Panel
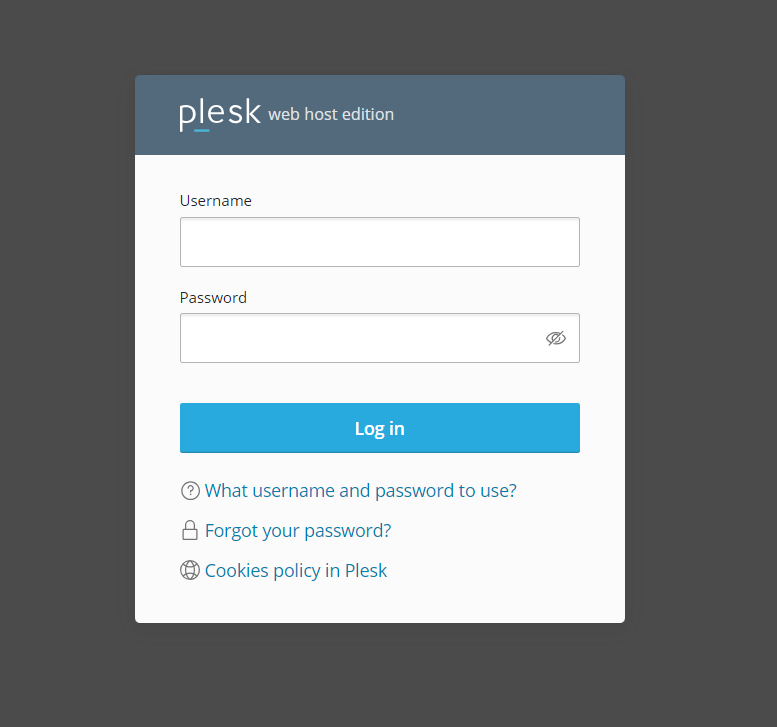
- Open your web browser and navigate to your Plesk Admin Panel URL.
- Enter your administrator username and password to log in.
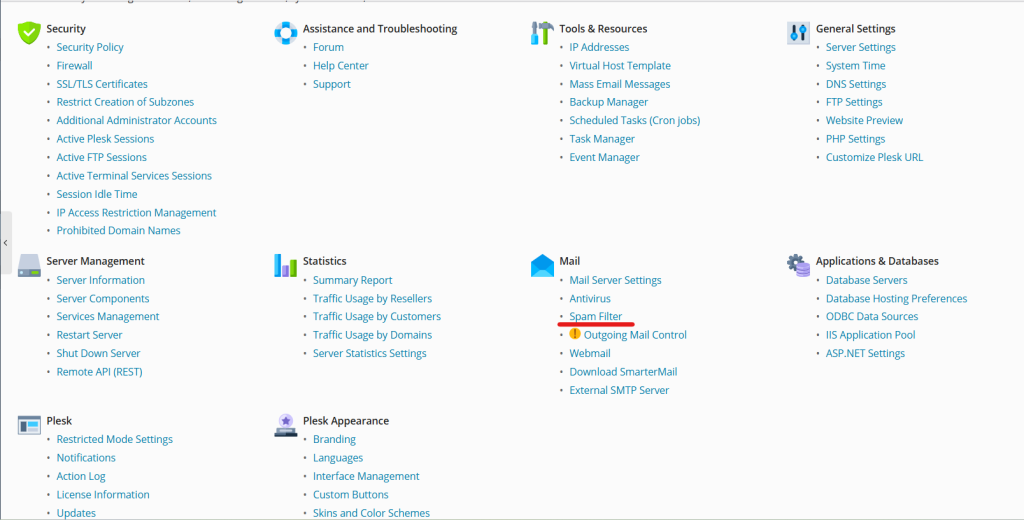
Step 2: Access the Mail Settings
- In the left-hand navigation menu, click on Mail under the Hosting Services section.
- From the Mail settings, select Mail Server Settings or Mail Settings, depending on your Plesk version.
Step 3: Enable SpamAssassin
Plesk uses SpamAssassin, a widely trusted anti-spam tool, for spam filtering.
- Locate the Spam Filter section in the mail settings.
- Check the box to enable SpamAssassin spam filtering.
Step 4: Configure Spam Filtering Options
- Set the Spam Score Threshold: This score determines what qualifies as spam. A lower value means stricter filtering, while a higher value is more lenient. The recommended value is 5.0.
- Enable Move Spam to Junk Folder: This ensures that flagged spam emails are moved to a separate folder instead of being deleted outright.
Step 5: Enable Server-Wide Settings
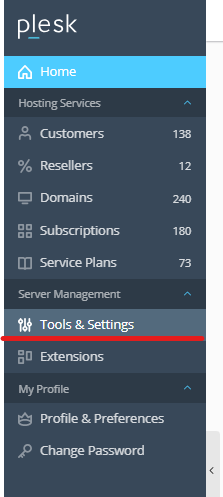
- Go to Tools & Settings from the left-hand menu.
- Under the Mail section, select Spam Filter Settings.
- Enable Apply to All Domains or a similar option to enforce spam filtering server-wide.
Step 6: Configure Advanced Settings (Optional)
For enhanced protection, you can:
- Enable DNS Blackhole Lists (DNSBL) to block emails from known spam sources.
- Add trusted senders to the Whitelist to bypass spam filtering for specific email addresses or domains.
- Add suspicious domains to the Blacklist to block them completely.
Step 7: Save Changes
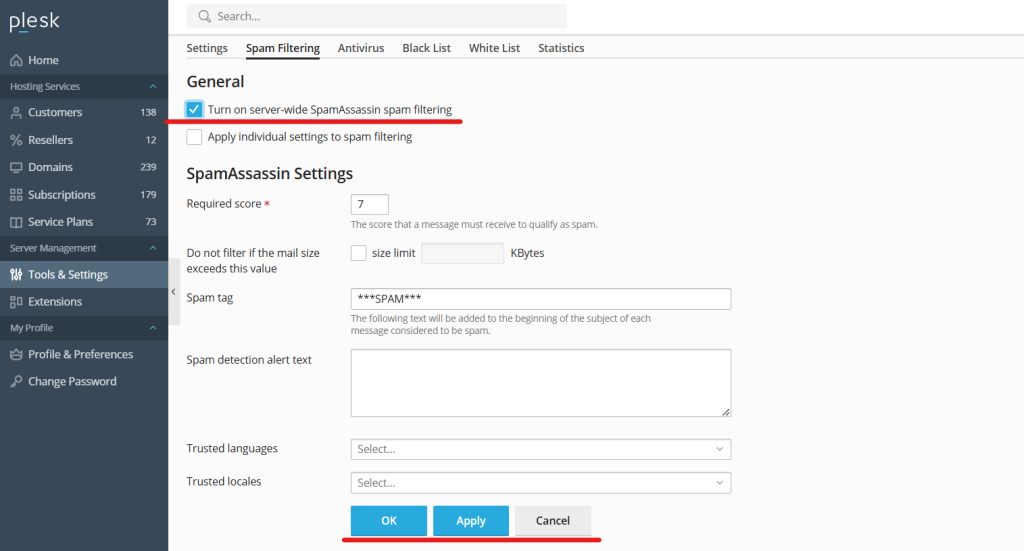
Click the Apply or OK button to save your changes.
Testing and Monitoring Spam Filtering
After enabling spam filtering:
- Test the configuration by sending a sample email marked as spam.
- Monitor the mail logs from Tools & Settings > Logs to ensure the spam filter is working correctly.
Benefits of Enabling Server-Wide Spam Filtering
- Enhanced Email Security: Prevents phishing attacks and malicious emails.
- Improved Server Performance: Reduces the load caused by processing spam emails.
- Cleaner Inbox: Offers users a better email experience by eliminating unwanted messages.
- Customizable Filtering: Adjust spam filtering settings based on your requirements.
Troubleshooting Tip
- If spam emails still reach inboxes, consider tightening the spam score threshold or enabling additional DNSBL providers.
- Regularly update your whitelist and blacklist to refine the spam filter’s effectiveness.
Conclusion
Enabling server-wide spam filtering in Plesk Admin Panel is a crucial step toward maintaining a secure, efficient, and spam-free email environment. By leveraging SpamAssassin and customizing its settings, you can effectively block unwanted emails while ensuring legitimate messages reach their destination. This proactive measure not only enhances email security but also improves server performance and user satisfaction. Regularly monitoring and fine-tuning the spam filter settings will help you stay ahead of evolving spam tactics, ensuring long-term protection for your server and its users.